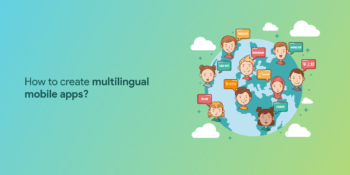
This is a guide for WooCommerce users who wishes to have a multilingual website and Mobile app for their eCommerce store. WPML for WordPress is a great solution for Multilingual plugin, having 100K active installations, WPML is rated among the best WordPress plugins.
WPML WordPress plugin is preferred by users who are either planning to extend eCommerce business to other countries or want to go deeper into the local market to get the attention of local customers. It is very important that your customers get easy language options on websites to use it better. The first step to achieve this would be by making the e-store multilingual and let the customers select their preferred language, both in the website and mobile app.
WPML-Appmaker integration is one of the most preferred among WordPress/WooCommerce users. Therefore this blog is to explain how the WPML for WordPress and Appmaker WooCommerce works together.
Installation
The WPML plugin is not just a single plugin setup, you need to install multiple components to configure your website correctly. The main WPML components required are
- WPML Multilingual CMS (the core plugin)
- String Translation
- Translation Management
- Media Translation
You will receive a ZIP file for each one of WPML’s components. Download all the necessary plugin files. Get WPML
- Log into your site and in the WordPress admin, go to the Plugins page and click Add New. On the Add Plugins page click Upload Plugin, select the ZIP files that you downloaded and click Install Now.
- Alternatively, if you cannot upload plugins directly to WordPress:
- Unzip each file. A directory will be created.
- Upload the unzipped directories to your site’s ../wp-content/plugins directory
- Go back to the Plugins page and enable the newly uploaded/added plugins.
- Follow WPML’s setup wizard to add languages to your site. When you first activate WPML, a setup wizard will help you specify the essential settings required to prepare your site for multilingual content.
- Choose your site’s languages
- Customize and add language switchers to your site
- Register WPML
Your website is ready to translate the content.
Note: After the installation, register on WPML to receive automated updates of future versions.
If you are a first-time user of WPML, you need to download and install the plugin manually. Follow the steps here.
Further, proceed with translating your website content.
- Translate pages, posts and custom posts.
- Know how to translate without WPML translation management.
- Translating other site content.
After setting up WPML for WordPress website, you can now use the Language Switcher on your mobile app (No extra configurations required).
Site Language
In the Website
When you configure WPML for the first time, you need to choose the language of existing content. Then, add more languages to the site. You can always go back to add/remove languages.

In the App
Similarly, you can choose those languages in the app, in which you would like to translate your content.
- Go to Appmaker dashboard and click on Update app.

- In the update app page, go to Language settings and select desired languages on the Select Language tab.

After selecting the languages, click on submit to save changes.
WPML Language Switcher
Add a language switcher to your theme, so that users can select their language. WPML lets you add a language switcher in different ways: in a menu, as a widget, or in the site’s footer. You can also use it to show links above or below your posts, offering them in other languages.
You can choose the Language Switcher of your choice.

The Languages page shows a working preview for the different language switchers active on your site, as displayed in the following image.

There are separate sections of each type of Language Switchers. In each section, you have Add, Edit and Delete options.
In the Website:
When you set up your Menu Language Switcher, it will show up on your website top bar menu. You can choose two styles in this.
WPML Language switcher with Flag and Country name.

Language switcher with only Country Flag.

In the App:
The Language Switcher can be set up in multiple places in the mobile app.
My Account section in the app

Open the mobile app > In the bottom right corner > My Account
Note: The Language Switcher in My Account tab inside the app can be used by the users who have logged in to the app. For the guest users, there are other options of Language Switchers.
In the Menu bar

To show the language switcher option in the app menu for guest logins, enable Show Language Switcher button on the Appmaker dashboard and click on Submit.

When the app is opened

Configure the Language Switcher so that it opens as the users open the app. This could be done by enabling Initial Language Switcher in the Appmaker dashboard. Click on submit to save the changes.

Examples of WPML for wordpress
In the website:

In the App:

- Select the button to open the app menu.
- Click on the Language Switcher at the top left corner.
- The Switcher shows that active language is English. Select the desired language.

- You will get a pop up to confirm the language switch. Click Ok.
- The language has switched on the mobile app.
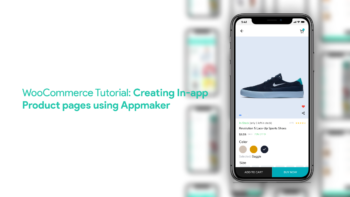
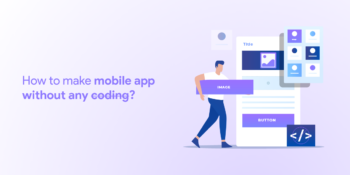
Already a WooCommerce store owner? Build a Mobile App to Win More Customers
Appmaker specialises in Quality and Performance guaranteed, E-Commerce Android/iOS Apps for E-Commerce Businesses. Get in touch


No Comments
Leave a comment Cancel