Checkout can be a long process. From entering the address details to choosing a payment gateway, there are several fields you may need to enter to buy a product. Showing all the checkout options on one page can increase the churn rate. A solution to this is using the WooCommerce Multi-step Checkout. Divide your checkout fields into various pages. Let’s learn more about it.
Get going with the Multi-step checkout
If you need information more than just what can fit in a single page, using multiple pages can be the best way around. Using break down of data fields into multiple page can be done by using WooCommerce Multi-step checkout plugin.
By using this checkout plugin, you can completely control the look of the checkout. From getting the store theme, to defining the checkout style and design, this plugin might just be perfect for you.
Install the plugin
To install the plugin, go to the WordPress dashboard and search for the plugin. Install the checkout plugin.
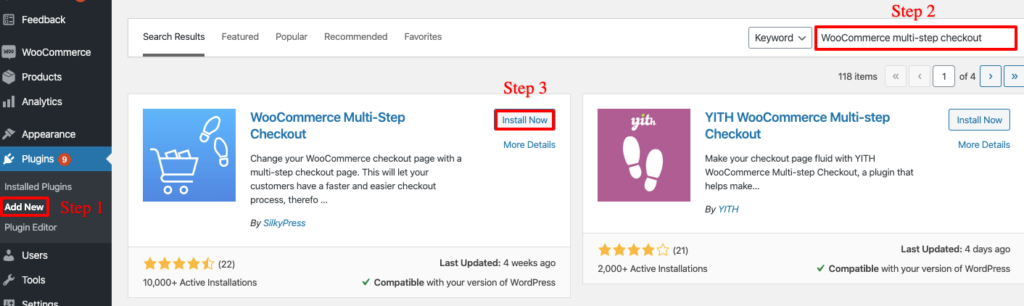
Once installed, activate it.
Define the WooCommerce checkout plugin
After the plugin is activated, click on the Settings option to define how you want to use this plugin. To get more control over the settings, you can opt for the Pro version.
There are mainly 3 tabs available to define the checkout settings –
First, general settings
In this tab, you can define and enable the options/fields that should be shown in the app. Tick the ones needed.
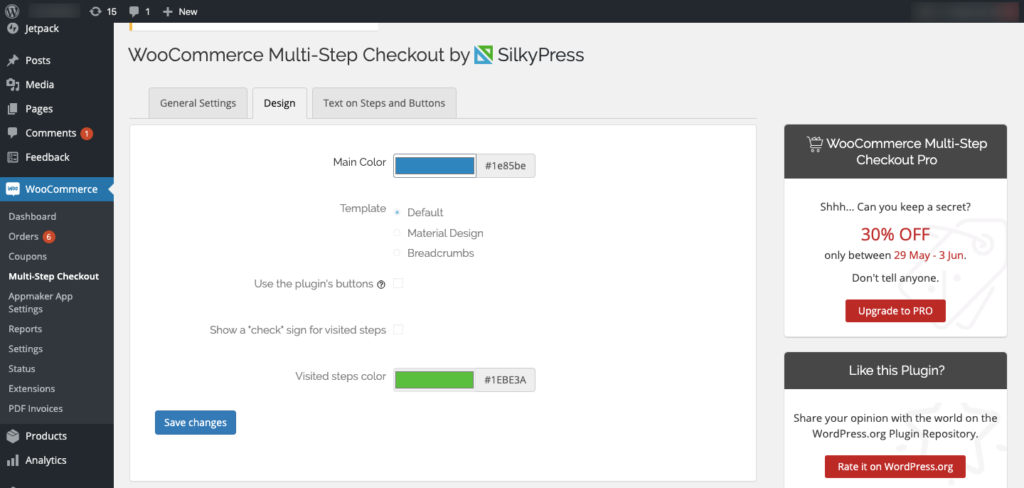
Second, design
Insert the theme colour of your store
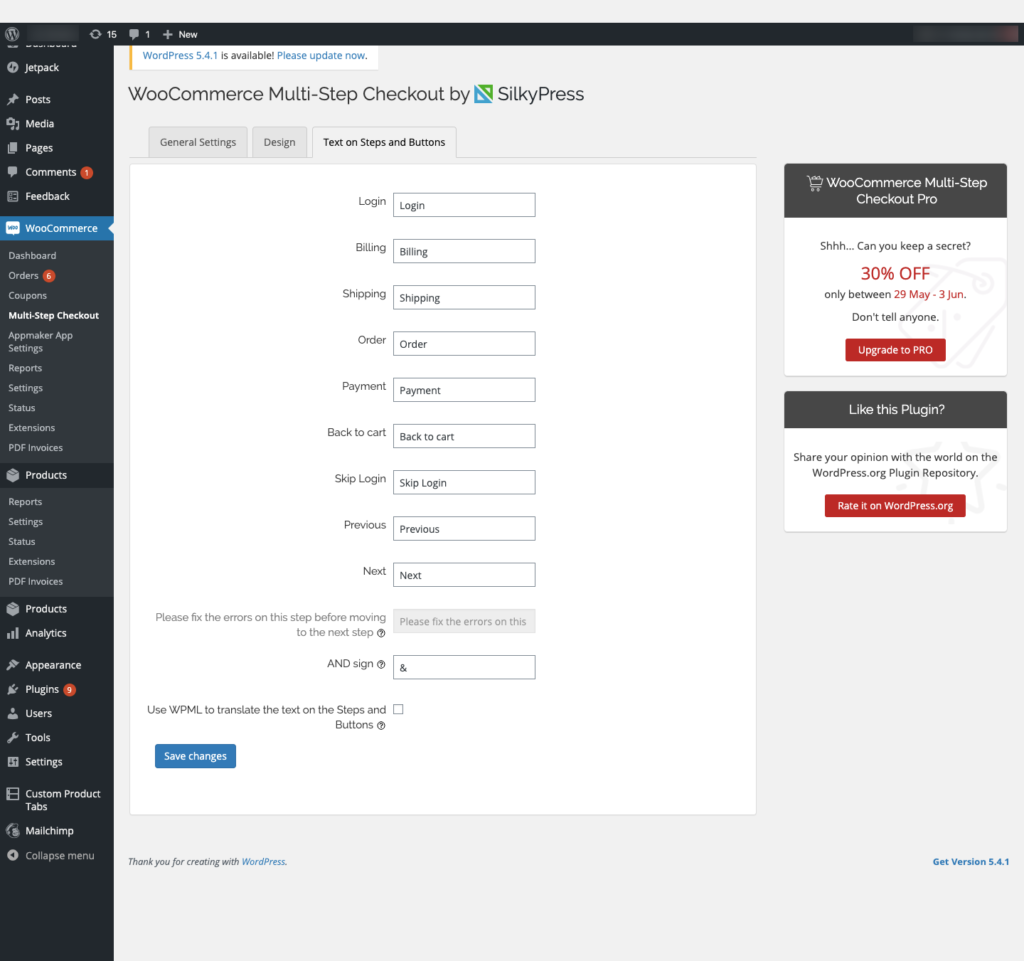
Finally, Text on steps and buttons
You can decide what text should be shown on each button
With this, you can set up your multi-page WooCommerce checkout process in the app. Want to give it a try? Click below to install the plugin –


No Comments
Leave a comment Cancel